How to Properly Sear Meat for Maximum Flavor
Searing is one of the most fundamental techniques in cooking meat, yet many home cooks struggle to get it right. The good news? With a few simple rules, you can master the art of searing and take your steak, pork, or chicken to a new level of flavor. In this guide, you’ll learn why searing matters, how to do it properly, and how to avoid common mistakes.
What Is Searing and Why Does It Matter?
Searing is the process of cooking the surface of meat at a high temperature until a caramelized brown crust forms. This isn’t just for looks—this golden crust is the result of the Maillard reaction, a chemical process that enhances the flavor and aroma of food. While searing doesn’t “seal in juices” as once believed, it does build a flavor-packed outer layer that’s incredibly satisfying.
Best Cuts of Meat for Searing
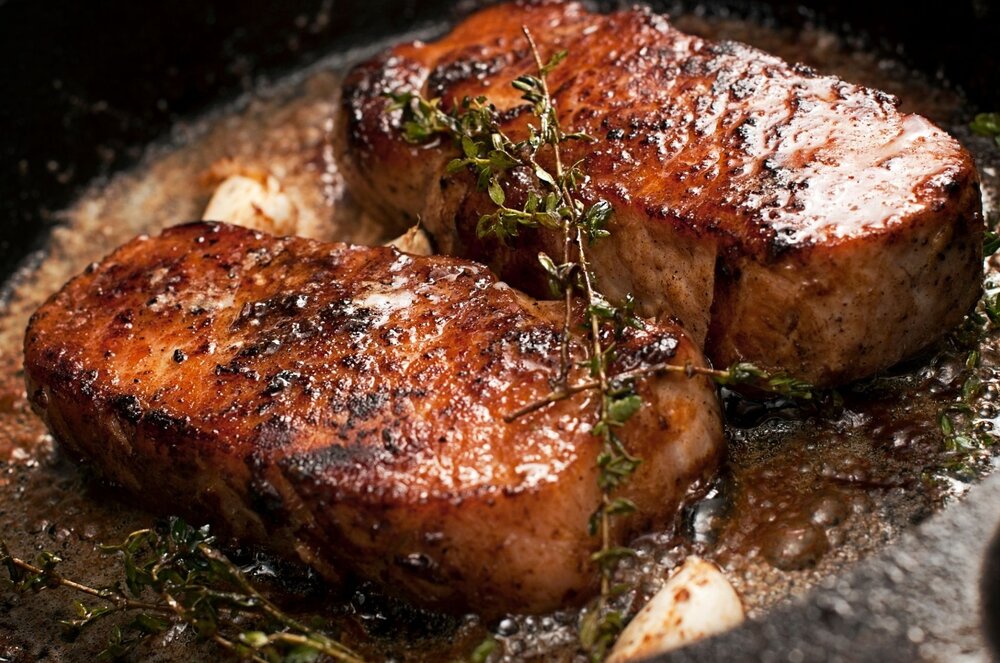
Not all meats are ideal for searing. The best candidates include:
-
Steaks (ribeye, sirloin, filet)
-
Pork chops
-
Chicken thighs or breasts
-
Lamb chops
-
Tuna or swordfish steaks
Step-by-Step Guide to Searing Meat
1. Choose the Right Pan
Use a heavy-bottomed pan such as cast iron or stainless steel. Non-stick pans won’t give you the browning you want.
2. Pat the Meat Dry
Moisture is the enemy of browning. Use paper towels to thoroughly dry the meat before seasoning it.
3. Season Simply
Salt and pepper are all you need. You can add more complex flavors later in the cooking process.
4. Preheat the Pan
Heat the pan over medium-high to high heat until it’s very hot. A drop of water should sizzle and evaporate immediately.
5. Add Oil
Use a high-smoke-point oil like avocado, canola, or grapeseed oil. Add it just before placing the meat in the pan.
6. Sear Without Moving
Once the meat is in, resist the urge to move it around. Let it sear undisturbed for 2-4 minutes until a deep brown crust forms.
7. Flip and Repeat
Turn the meat and sear the other side. If needed, you can briefly sear the edges for an all-over crust.
8. Finish as Needed
Thicker cuts may need finishing in the oven. Use a thermometer to reach your desired doneness.
Tips for Success
-
Don’t overcrowd the pan—work in batches if necessary.
-
Avoid flipping more than once.
-
Rest the meat after cooking to retain juices.